Cloud Formation Wizard
Follow along with the screenshots if you have any questions about these steps.
Cloud Formation Wizard
Start by clicking Next at the bottom like shown:
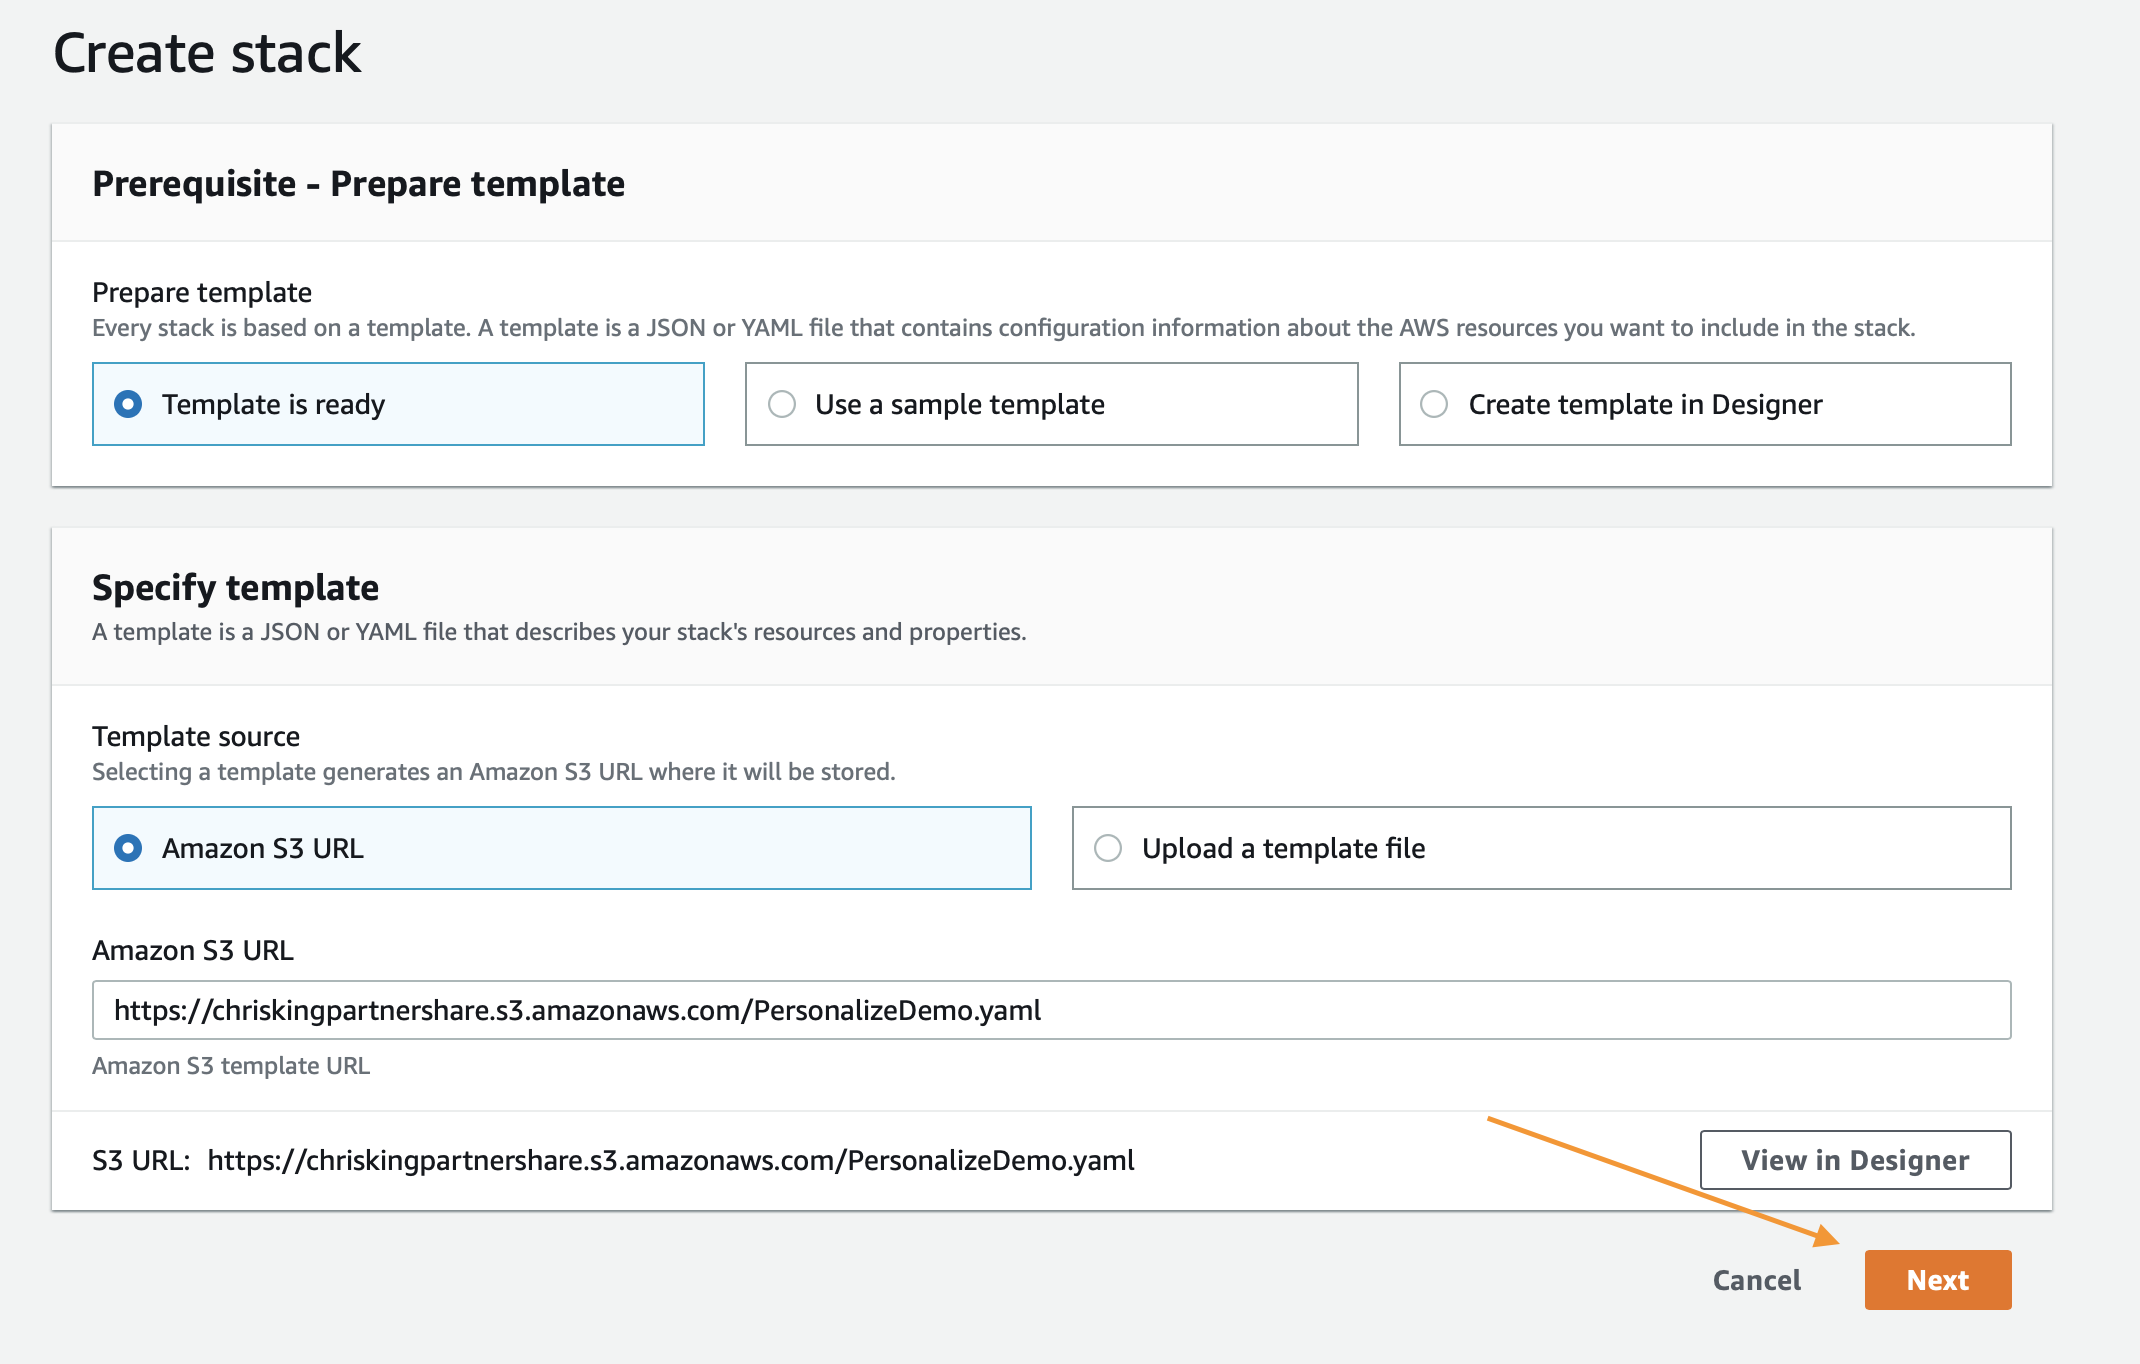
In the next page you need to provide a unique S3 bucket name for your file storage, it is recommended to simply add your first name and last name to the end of the default option as shown below, after that update click Next again.

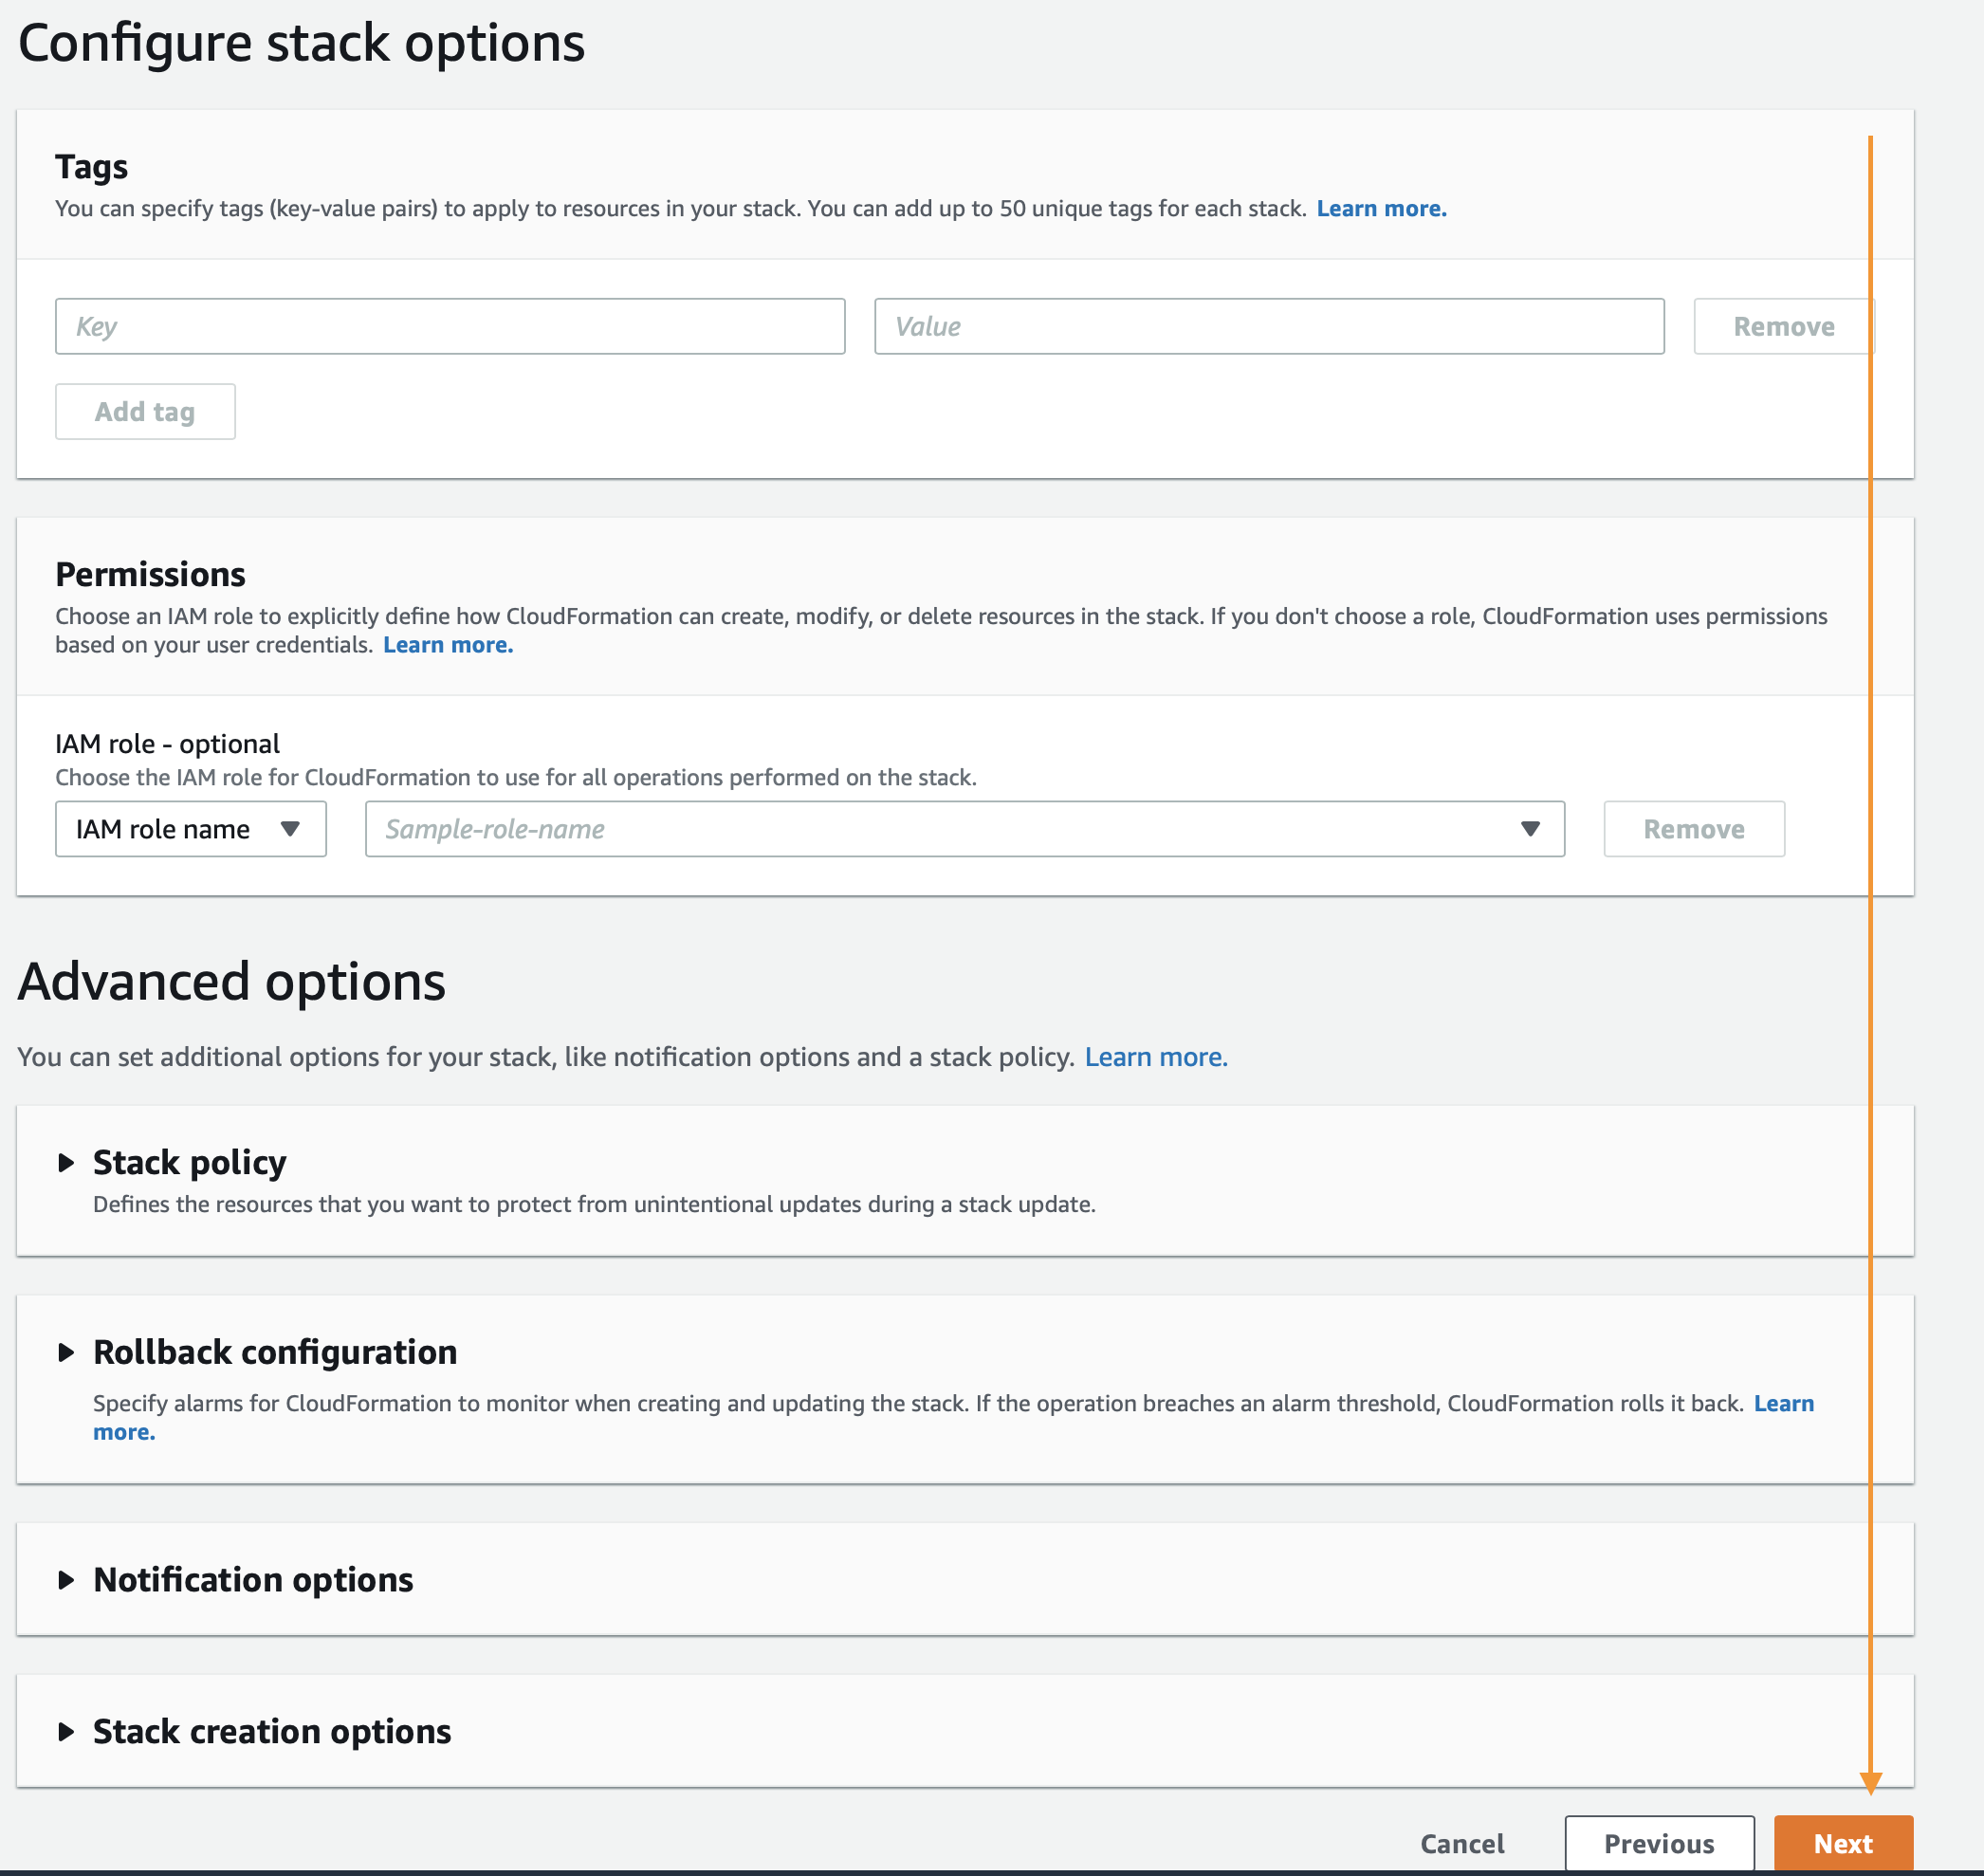
This page is a bit longer so scroll to the bottom to click Next.
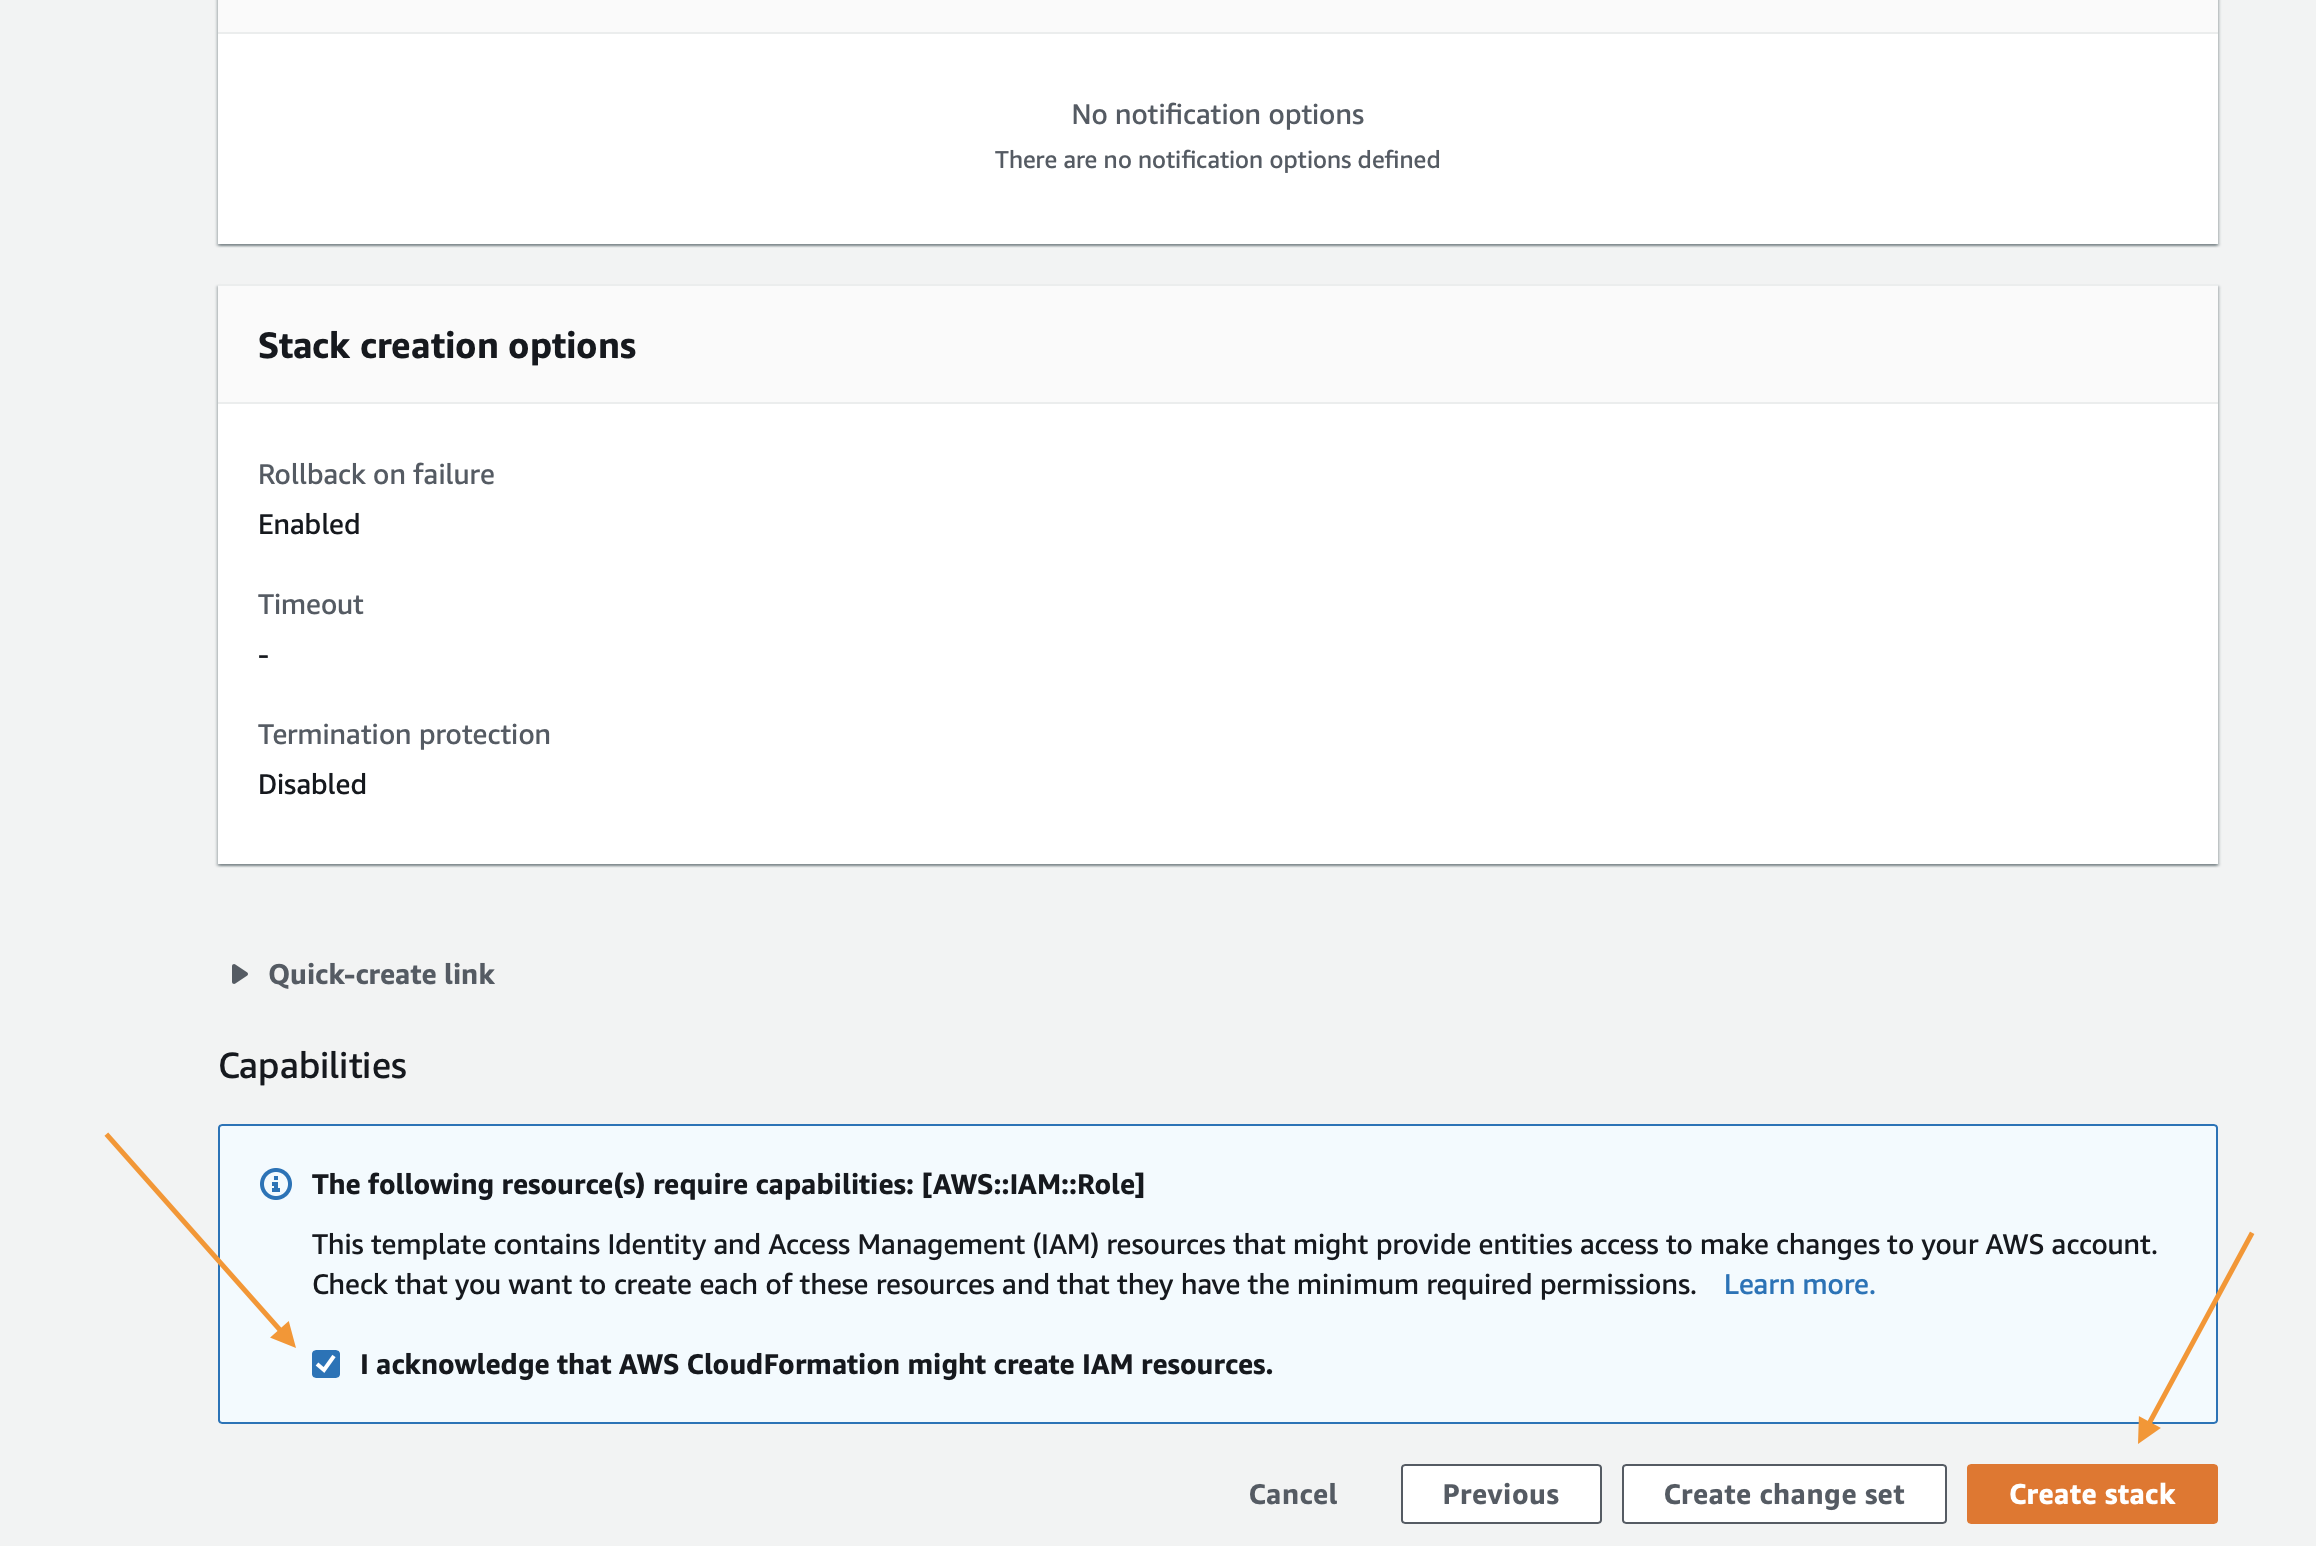
Again scroll to the bottom, check the box to enable the template to create new IAM resources and then click Create Stack.
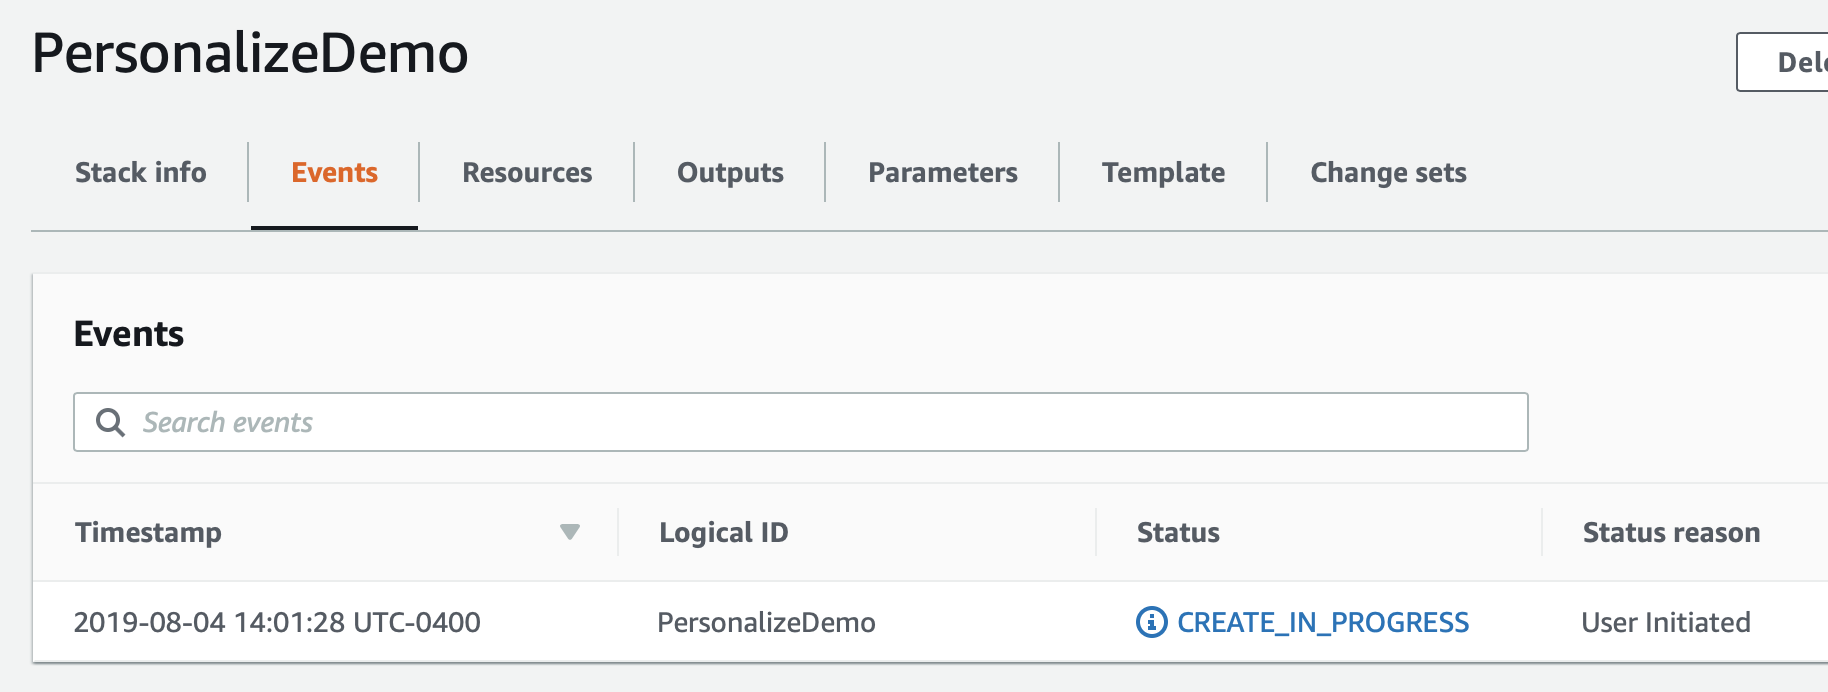
For a few minutes CloudFormation will be creating the resources described above on your behalf it will look like this while it is provisioning:
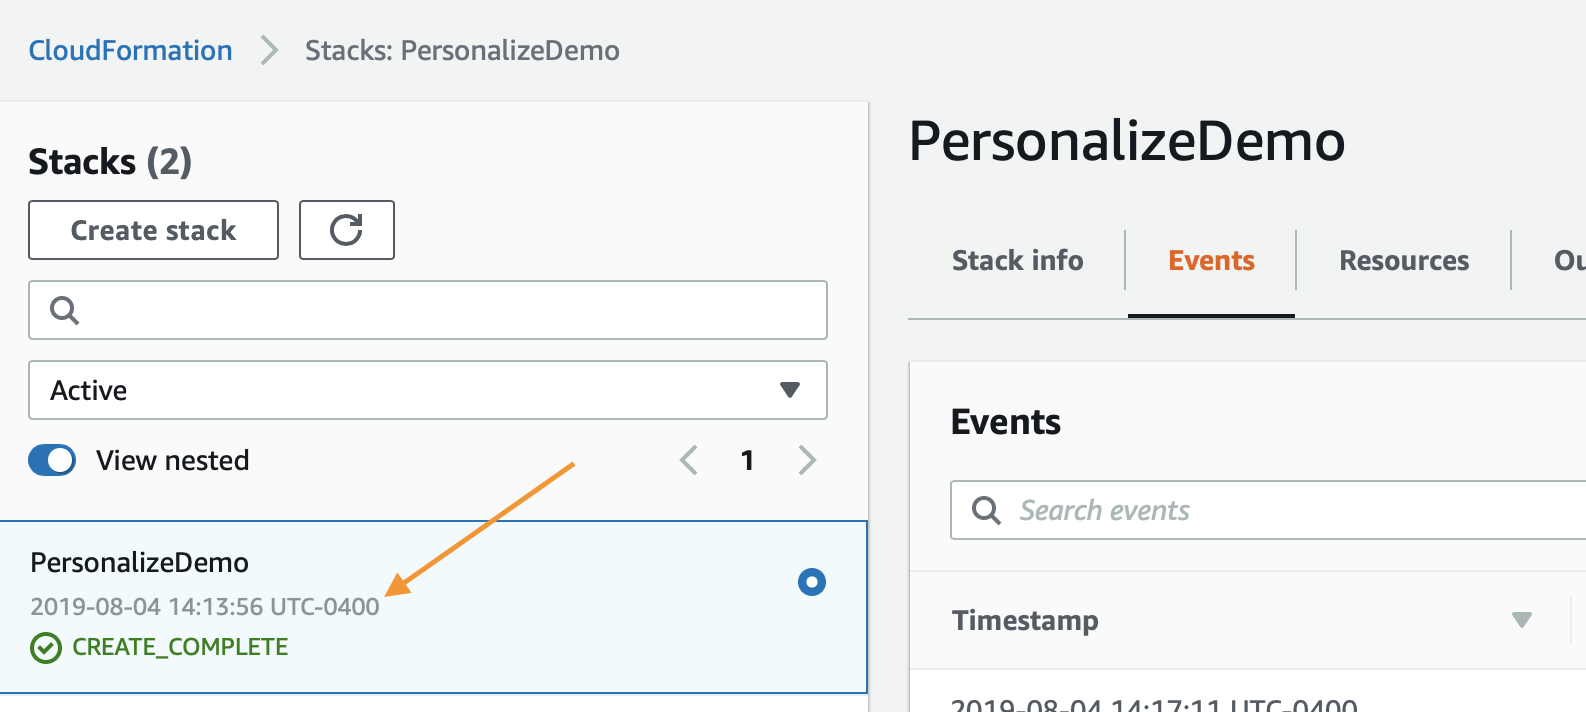
Once it has completed you’ll see green text like below indicating that the work has been completed:
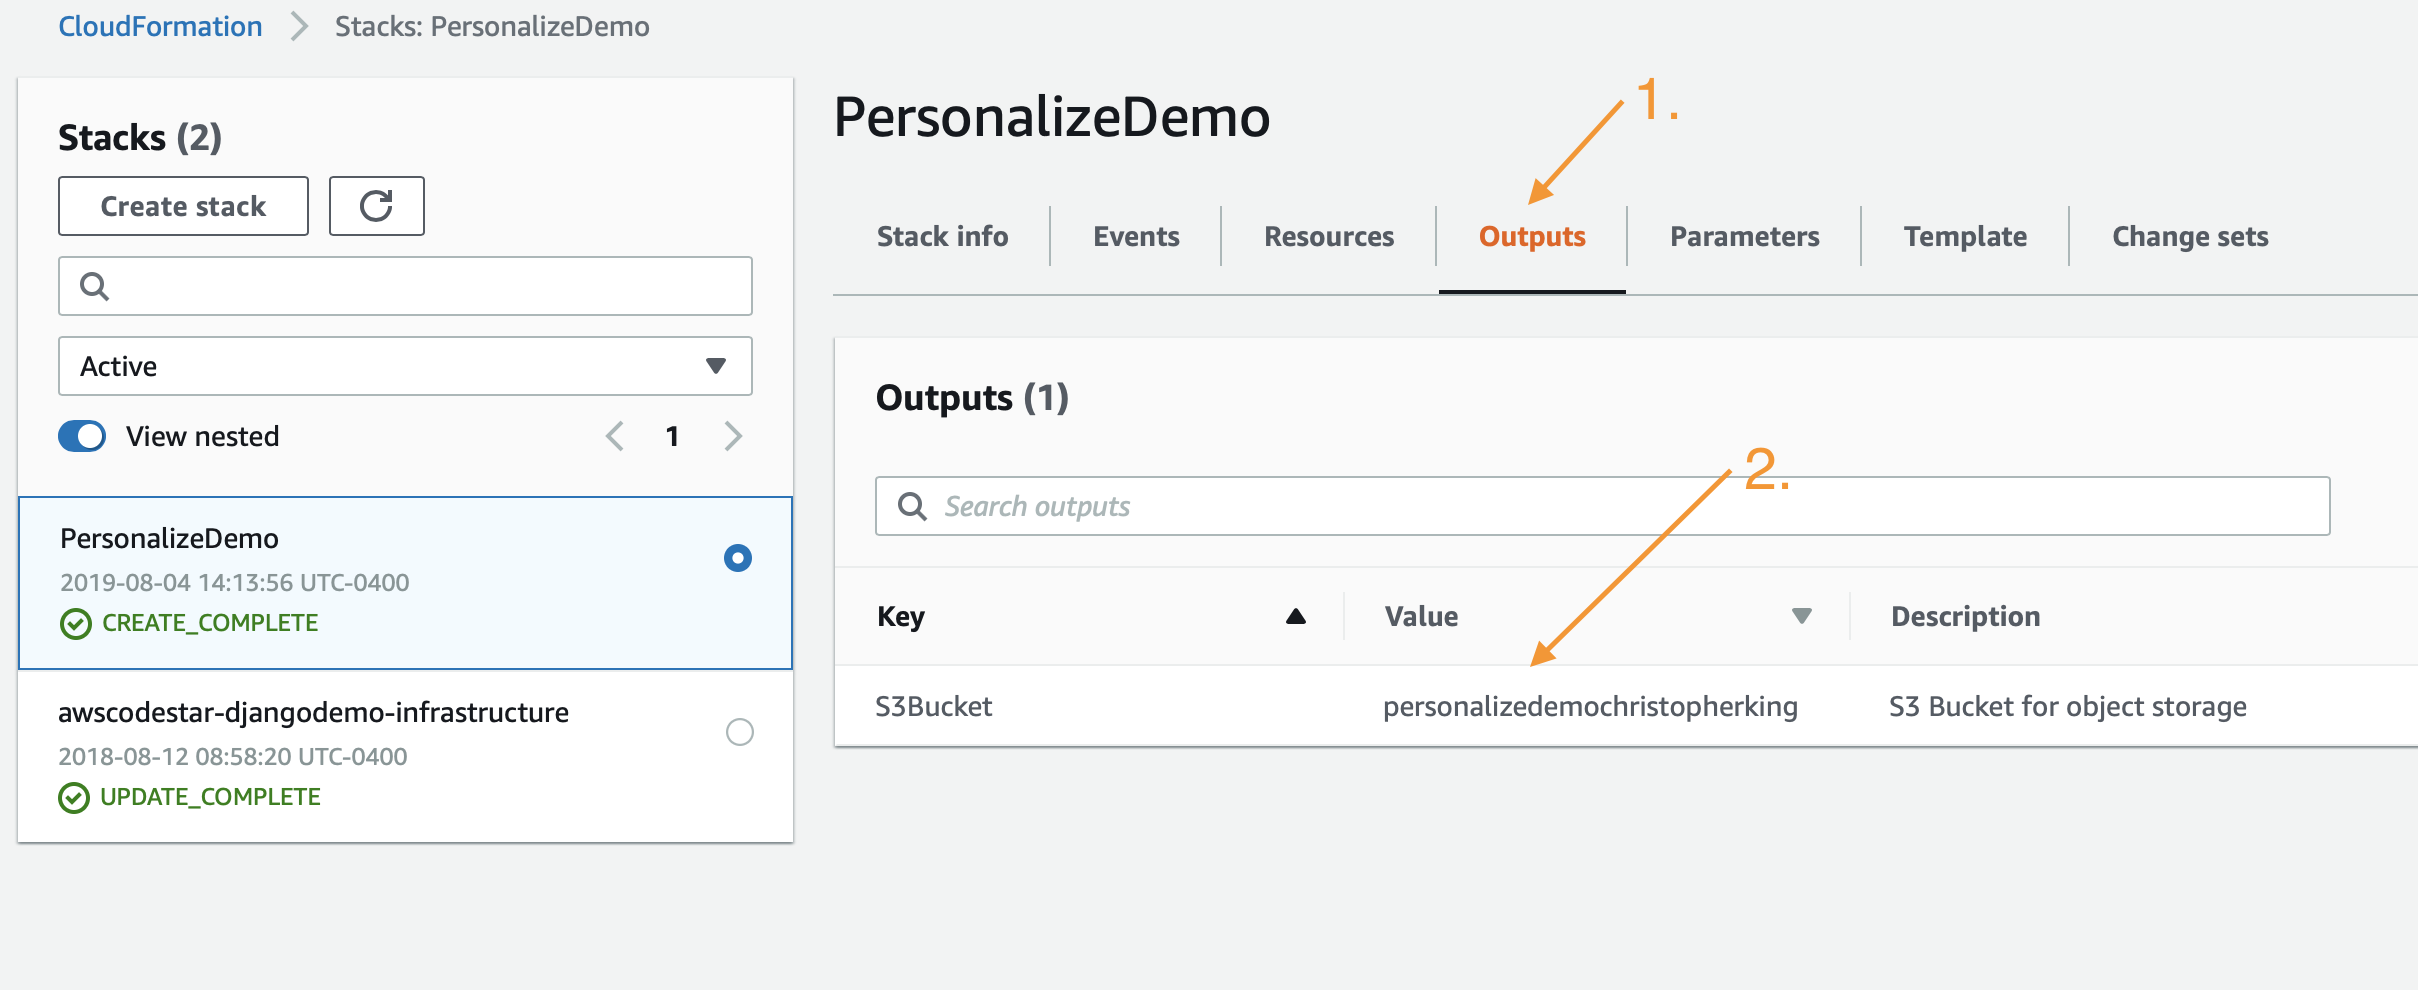
Now that you have your environment created, you need to save the name of your S3 bucket for future use, you can find it by clicking on the Outputs tab and then looking for the resource S3Bucket, once you find it copy and paste it to a text file for the time being.