After the Notebooks
Once you have completed all of the work in the Notebooks and have completed the cleanup steps there as well, the last thing to do is to delete the stack you created with CloudFormation. To do that, inside the AWS Console again click the Services link at the top, and this time enter in CloudFormation and click the link for it.

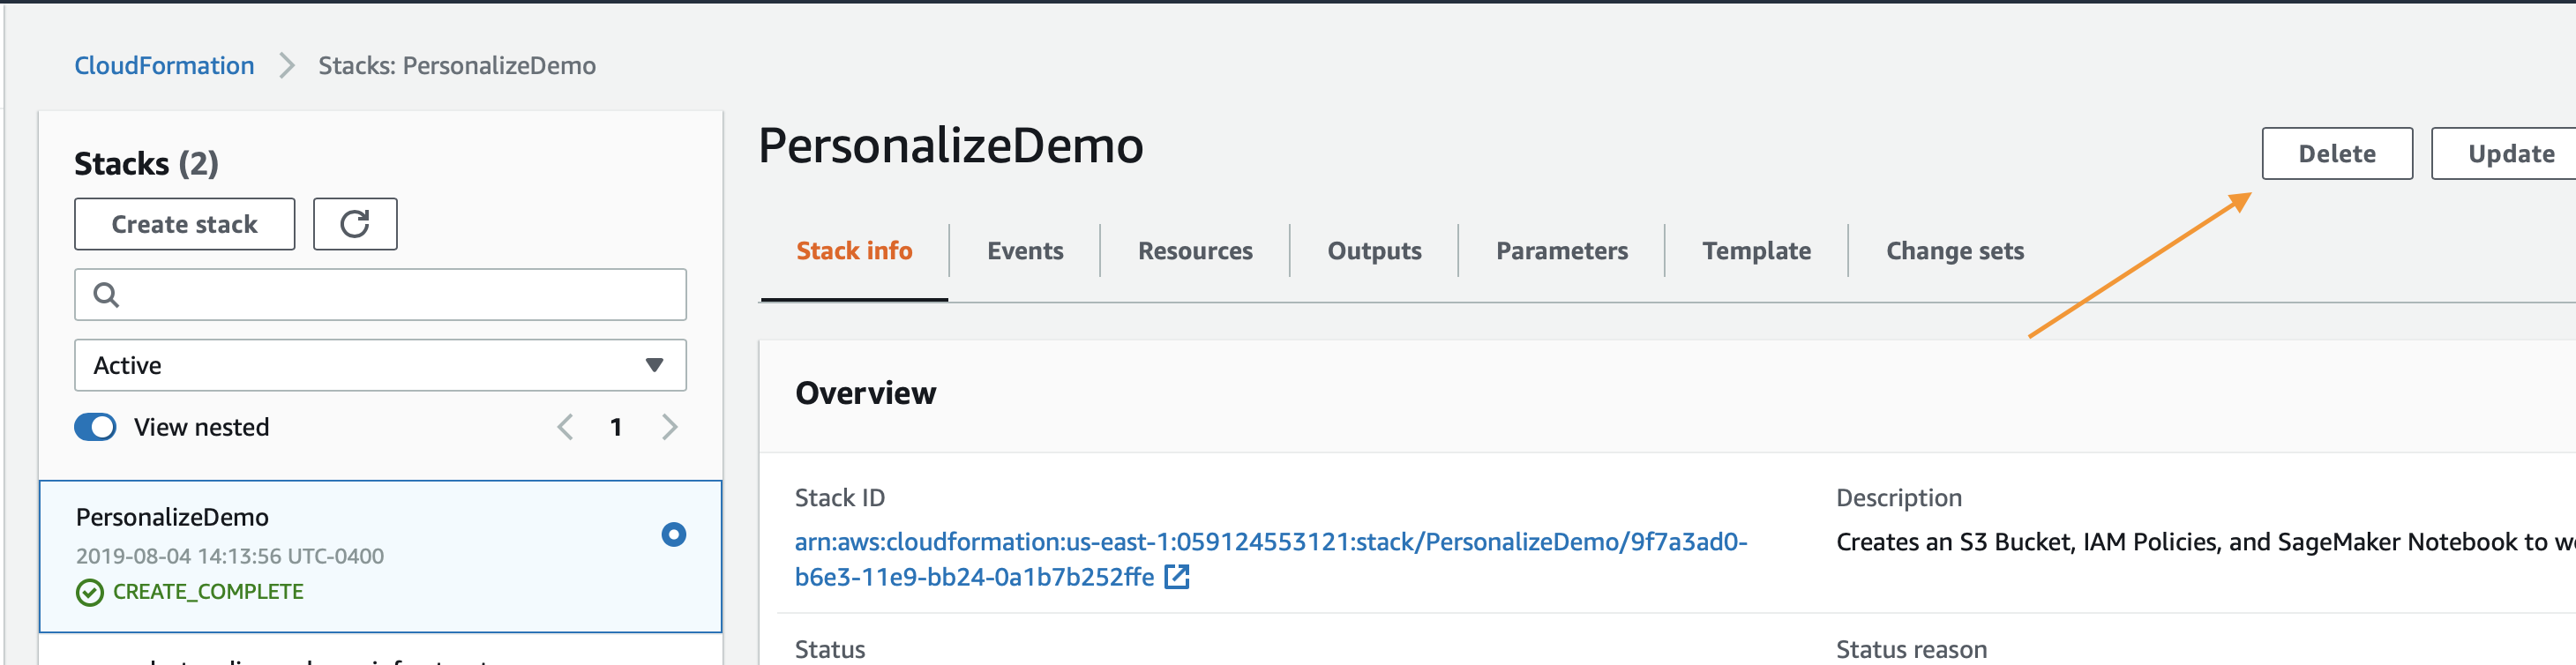
Click the Delete button on the demo stack you created:
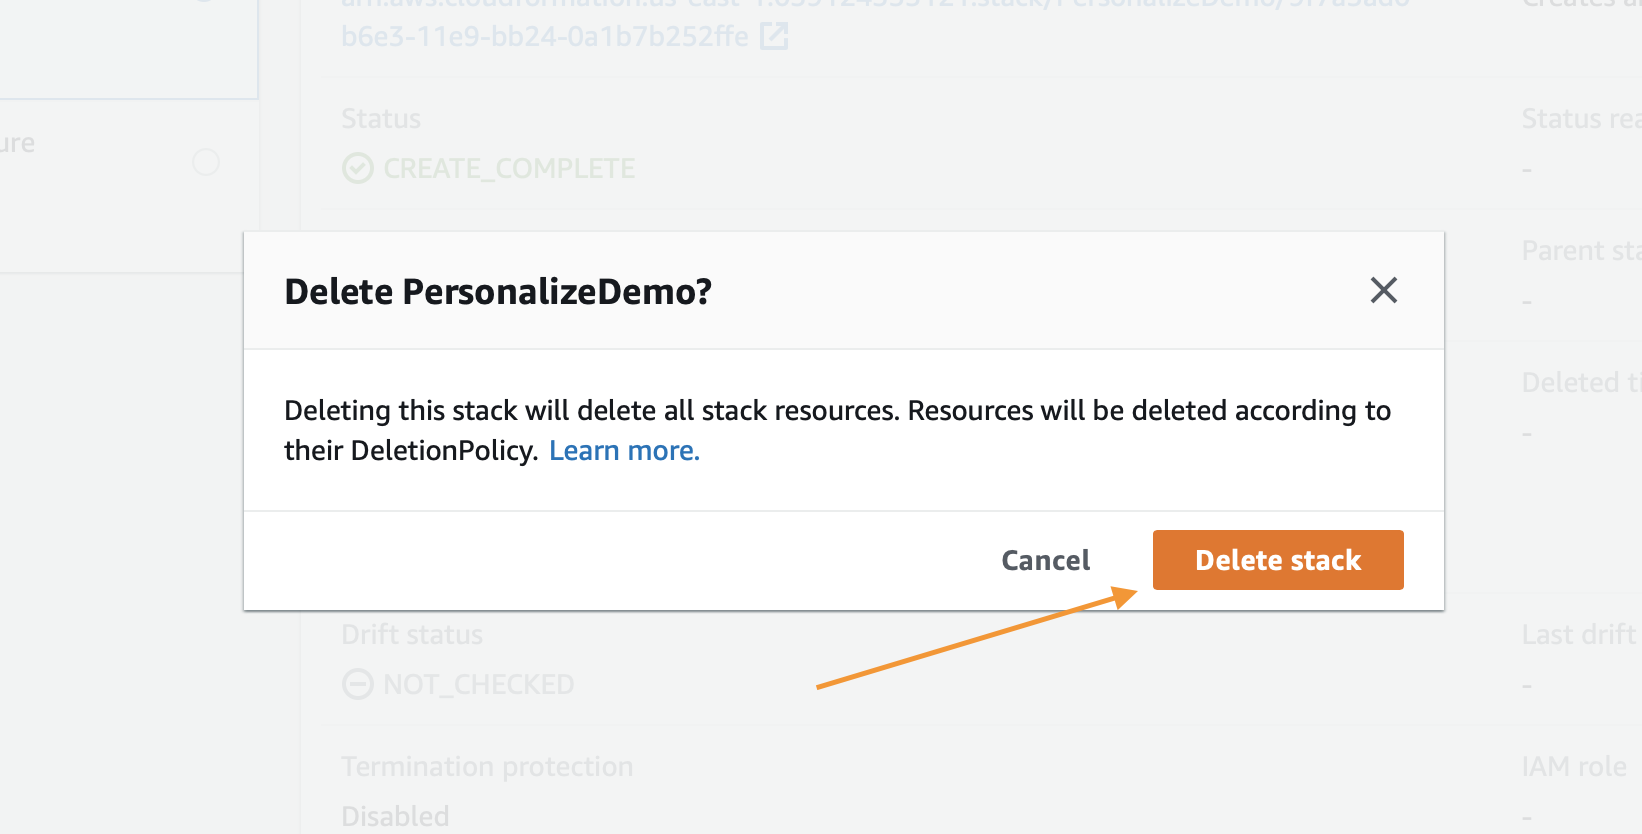
Lastly click the Delete Stack button that shows up on the popup:
You’ll now notice that the stack is in progress of being deleted. Once you see Delete Completed you know that everything has been deleted and you are 100% done with this lab.