Setup your Jupyter Notebook
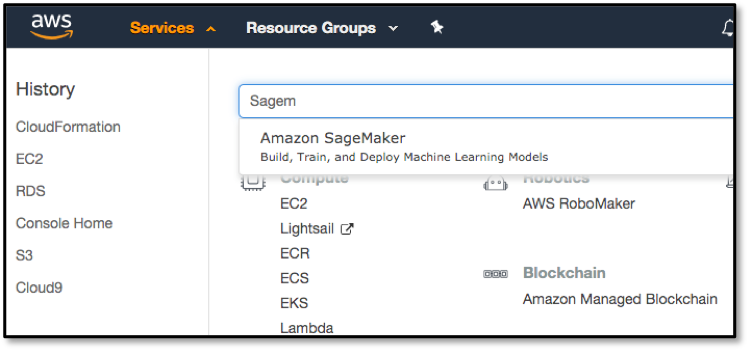
Click on Amazon SageMaker from the list of all services by entering Sagemaker into the Find services box. This will bring you to the Amazon SageMaker console homepage.
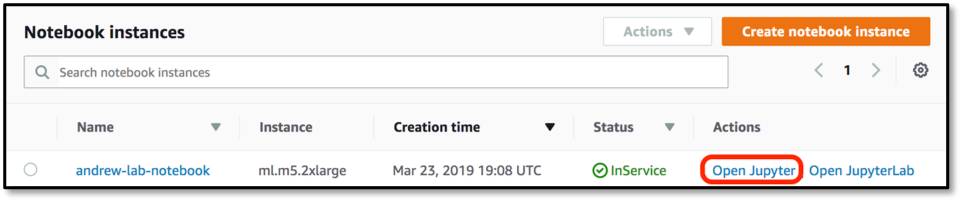
Go to the SageMaker menu on the left and choose “Notebook instances” under the “Notebook” option.
Wait until the notebook instance status is InService, then click on Open Jupyter - whilst you’re waiting you can perform step #1 of the next section to copy some files from Git
Now you can click on the notebook .ipynb file and the lab notebook will open, and you can now begin to work through the lab notebook.
Working Through a Jupyter Notebook
A Notebook consisted of a number of cells; in SageMaker these will typically either be Code or Markdown cells. Markdown is used to allow for documentation to be defined inline with the code, giving the author a rich set of markdown formatting options. The first cell in this notebook, which is called Get the Personalize boto3 Client, is Markdown, and if you select any cell then the whole cell is highlighted.
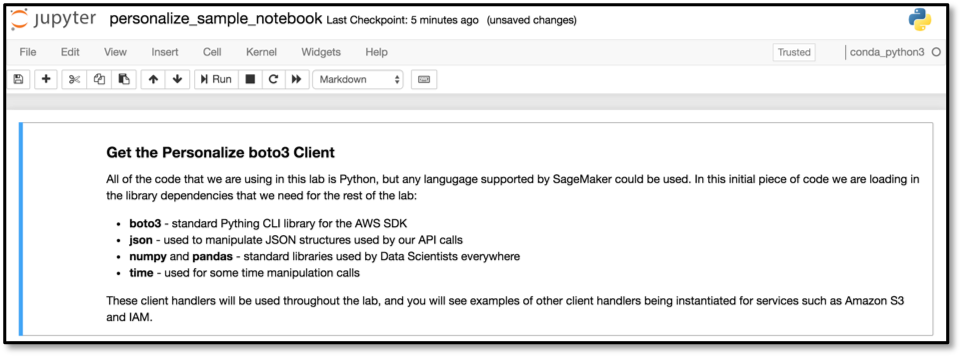
The first Markdown cell describes what the following Code cell is going to do – for the sake of this lab you do not have to understand the code that is being run in the Code cell, rather you should just appreciate what the notebook is doing and how you interact with a Jupyter notebook.
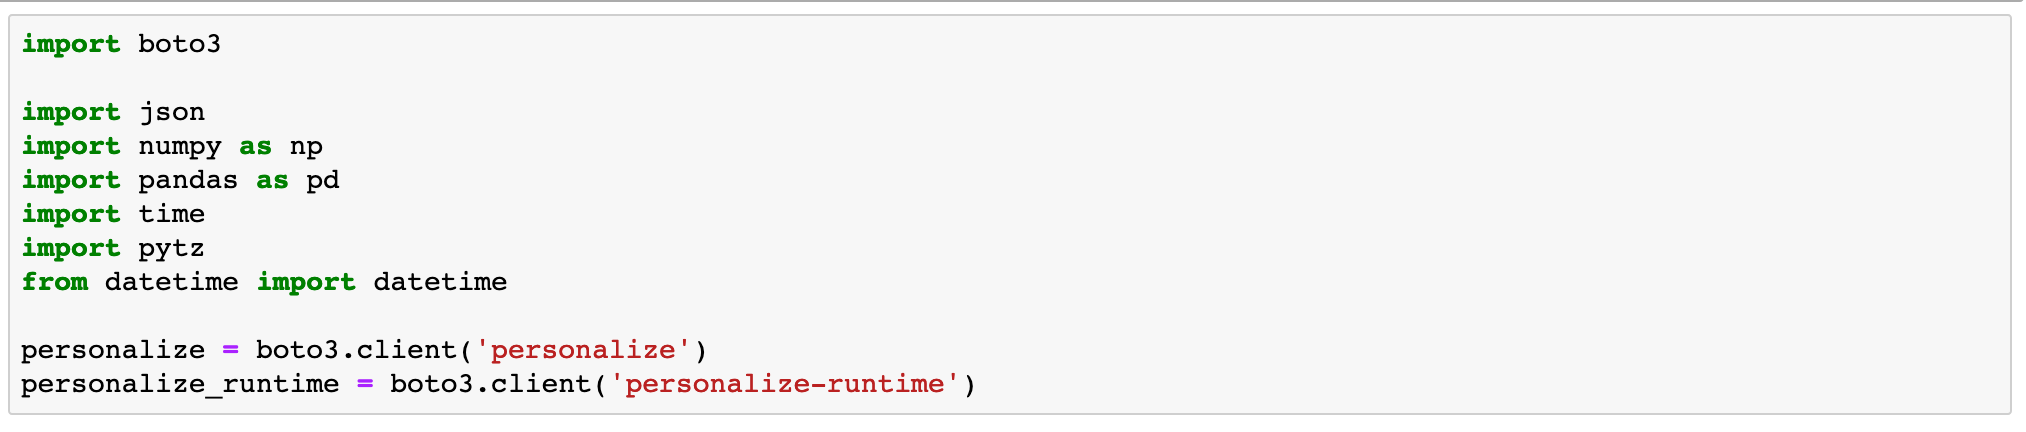
To the left of a Code module is a set of empty braces [ ]. By highlighting the cell and then selecting the Run command in the menu bar, the Jupyter notebook will execute this code, outputting and code outputs to the notebook screen and keeping any results data internally for re-use in future steps. Do this now to execute the first code cell.
Note: if a Markdown cell is highlighted, then clicking Run will move the highlight to the next cell
Whilst the code is executing the braces will change to be [*], indicating that it is executing, and once complete will change to [1]. Future cells will have increasing numbers inside the braces, and this helps you see the order in which cells have been exected within the notebook. Directly below the code, but still within the Code cell, is the output from the code execution - this will include any error messages that your code has thrown. In this example, the code execution successfully created the specified bucket in S3.

Now let’s continue to work through the notebook lab - read the comments prior to each Code cell in order to get an understanding as to what is going on, as these explain why we are doing each step and how it ties in to using the Amazon Personalize service.